HOME / FLAKE SYSTEMS
Epoxy Flake System Floors
★ HOW TO INSTALL
How to install an epoxy flake floor
A three-layer system: a colored epoxy base, a decorative flake broadcast into the wet base, and a UV-stable polyaspartic topcoat that locks it all in.
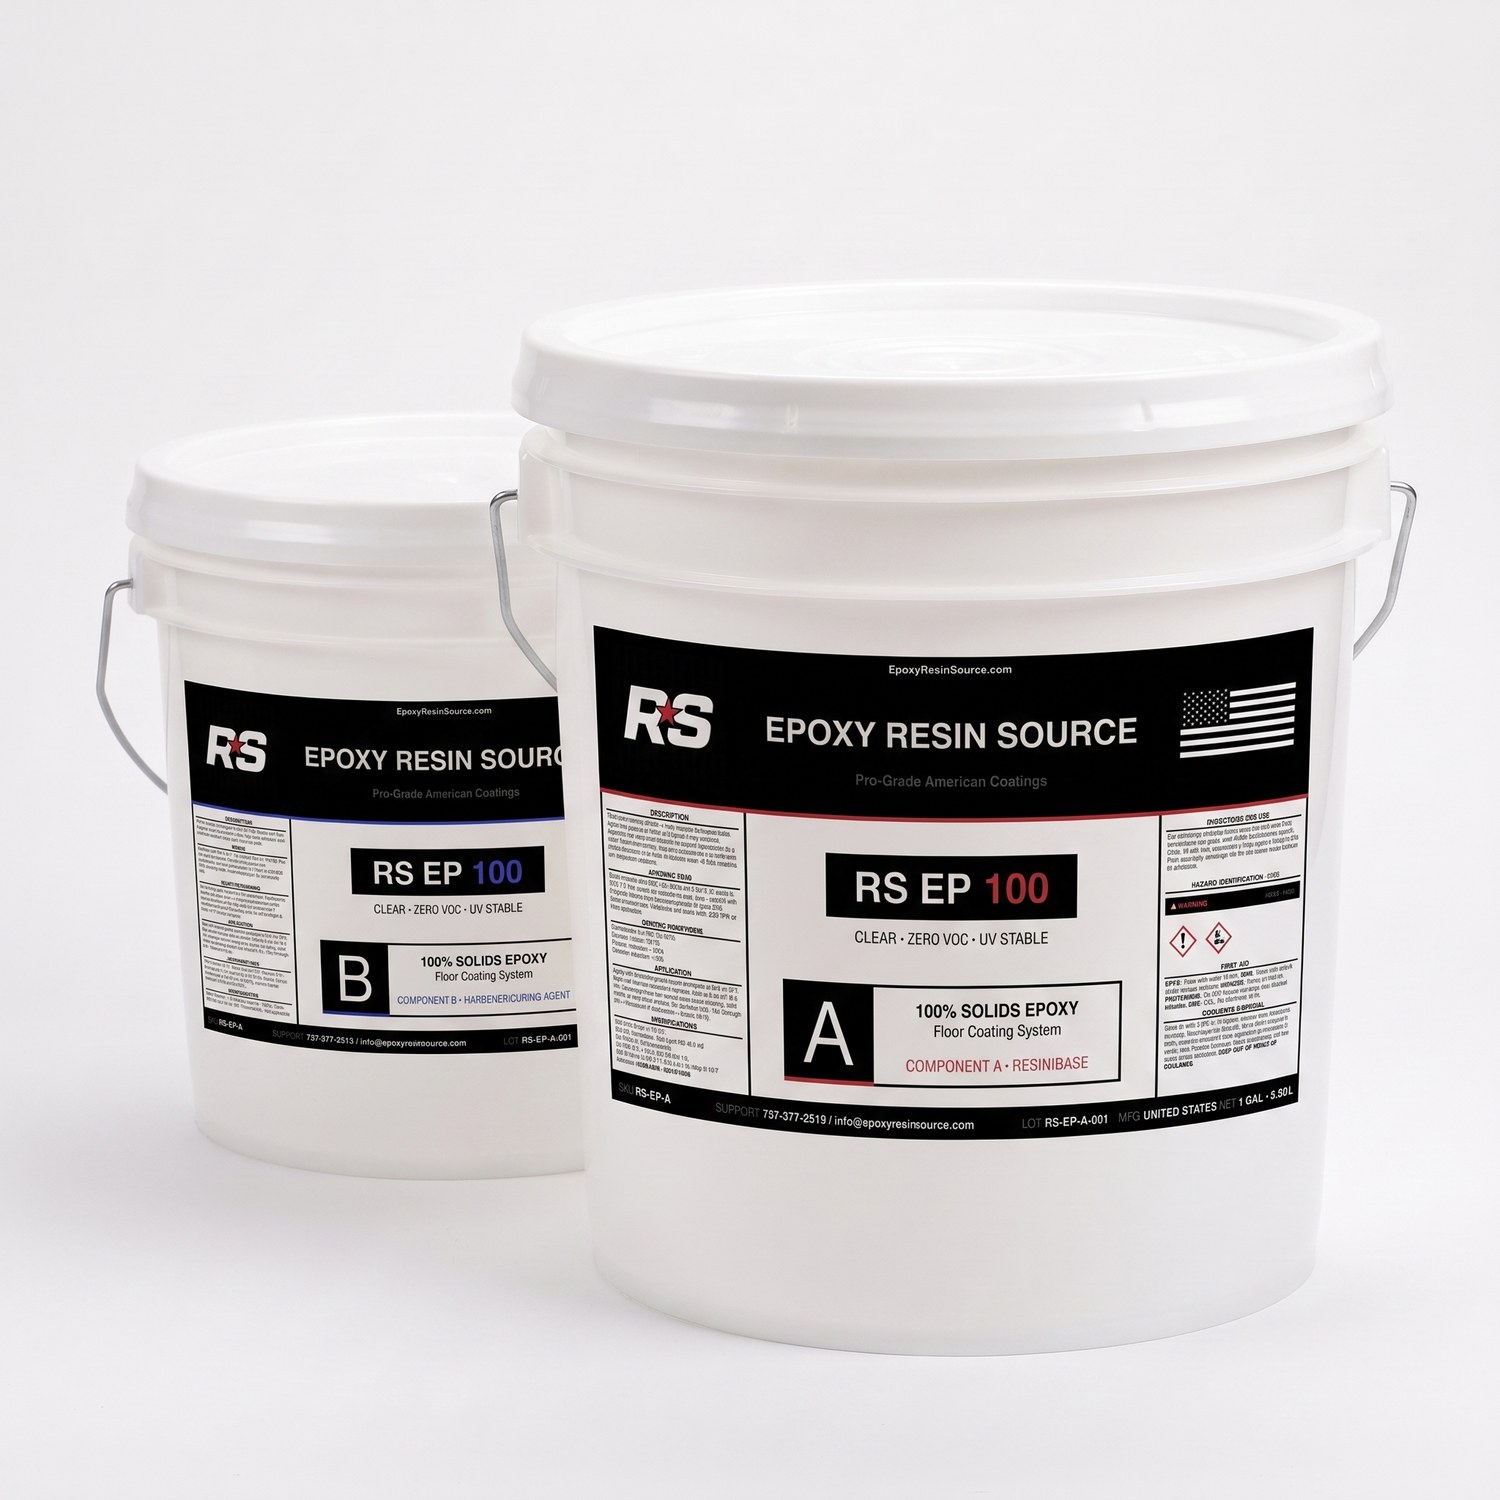
1 · Base Coat100% Solids General Use Flooring Epoxy100% solids epoxy, tinted with a pigment pack and rolled onto prepped concrete.
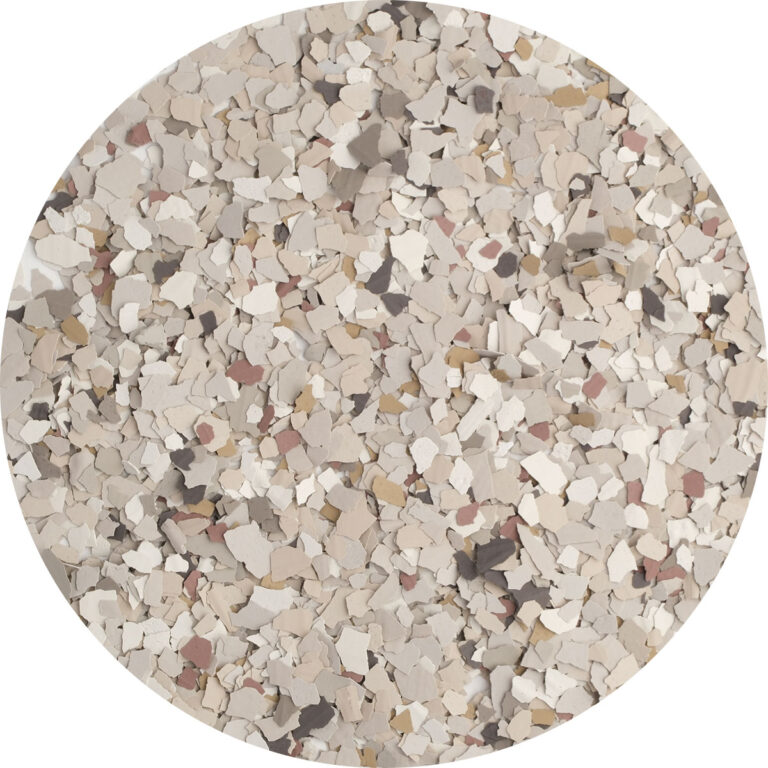
2 · Flake BroadcastDecorative Vinyl FlakeVinyl flake thrown into the wet epoxy to refusal.
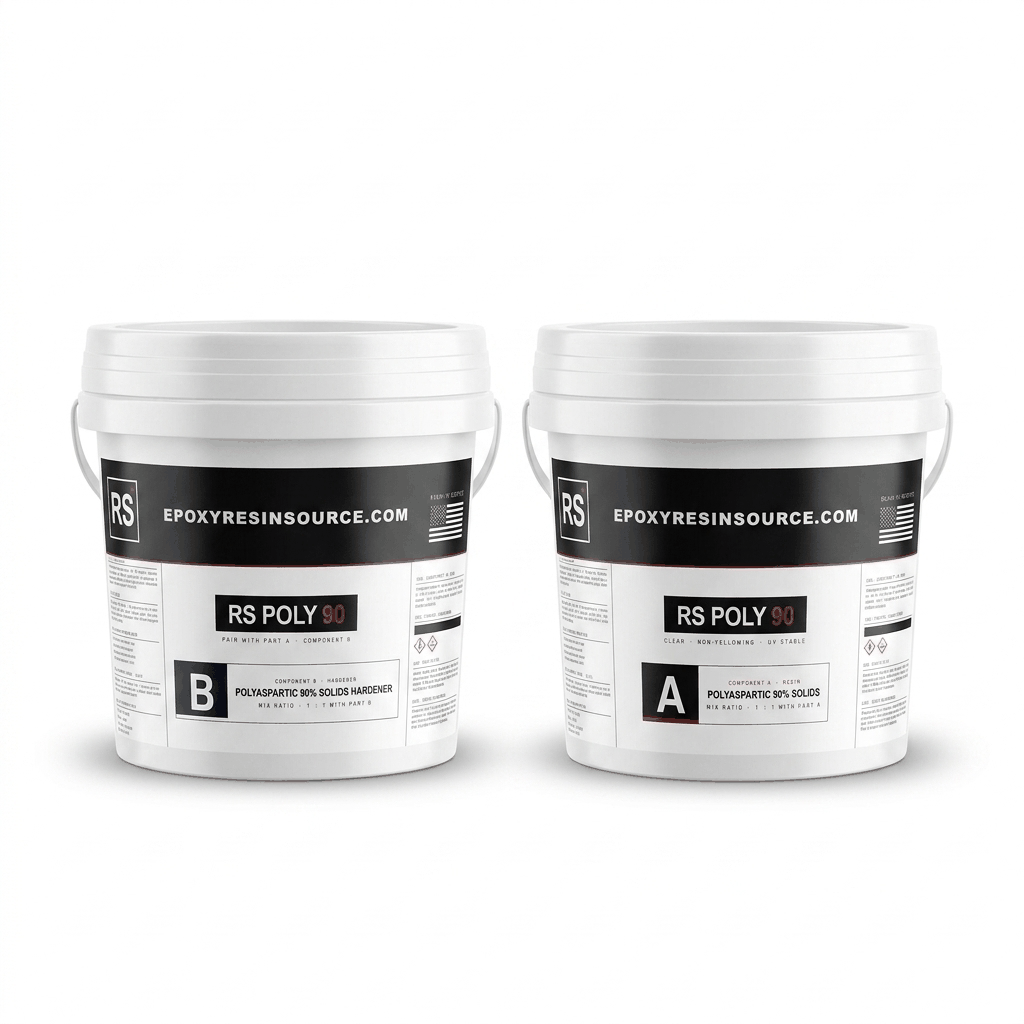
3 · Top CoatPolyaspartic 2 Part Flooring System — 90% Solid Non Yellowing Non FadingClear polyaspartic sealer over the scraped flake.
- 01Prep the slabGrind or acid-etch, patch cracks with PE-85, vacuum dust.
- 02Mix the base (A + B)Combine Part A and Part B and mix for 2–3 minutes.
- 03Roll the baseCut in the edges, then roll an even coat. ~40 min work time.
- 04Broadcast the flakeThrow flake up and let it fall flat into the wet epoxy, to refusal.
- 05Cure & scrapeLet cure ~12–24 hrs, then scrape and vacuum the loose flake.
- 06Top coatMix and squeegee/roll the polyaspartic. Walk-on ~4–6 hrs.
★ HOW TO INSTALL
Read these before you pour.
 8 MIN
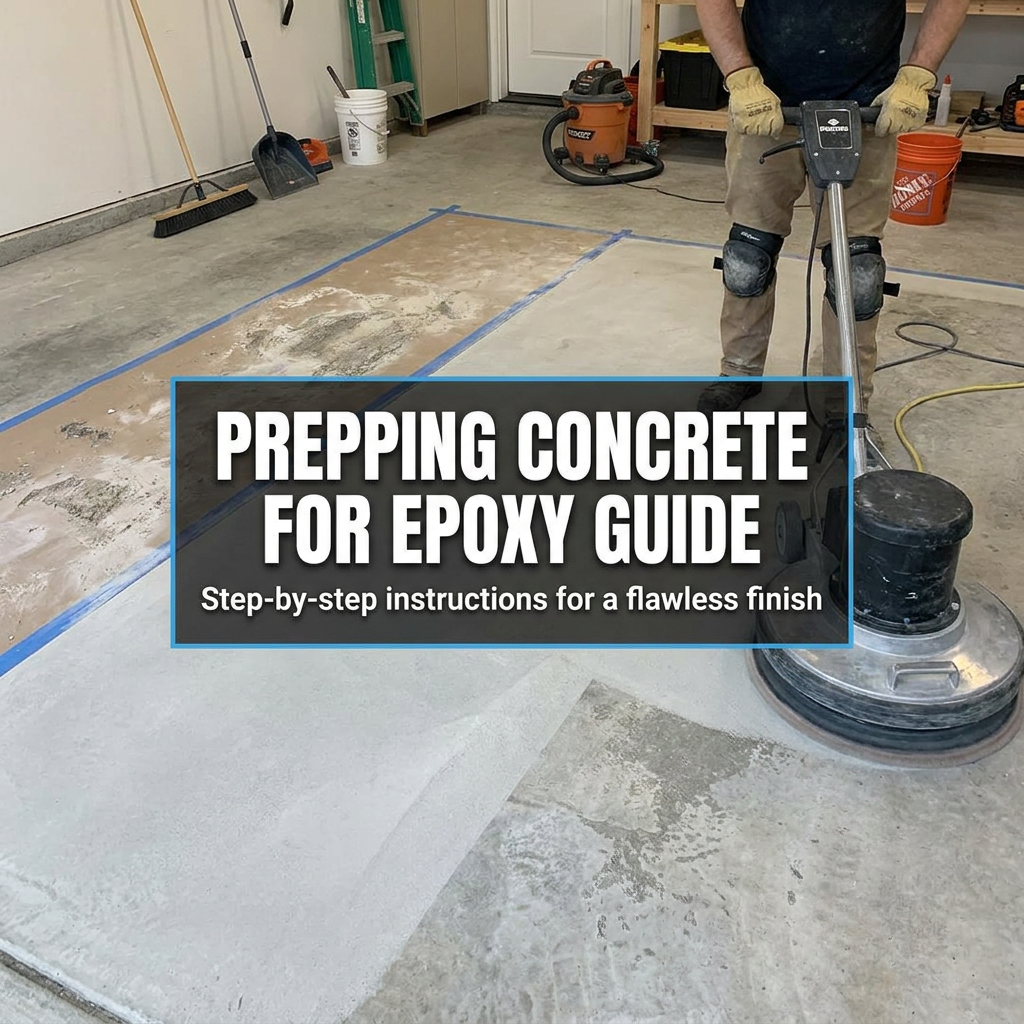
8 MIN★ SURFACE PREP
How to Prep Your Concrete for Epoxy Flooring
The most important step of any floor coating project. Learn how to clean, profile, and test your concrete so your epoxy or polyaspartic actually sticks — and stays.
Read the guide →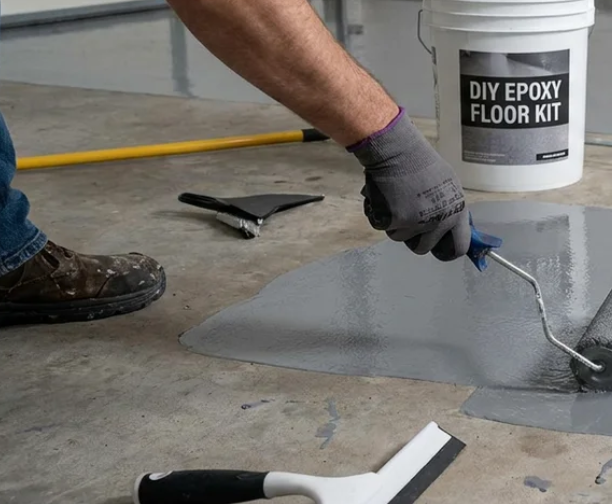 14 MIN
★ DIY · GARAGE
DIY Garage Floor Coating: Complete Step-by-Step
Your complete weekend guide to coating a garage floor yourself. From shopping list to walking on your new floor, every step in plain English.
Read the guide →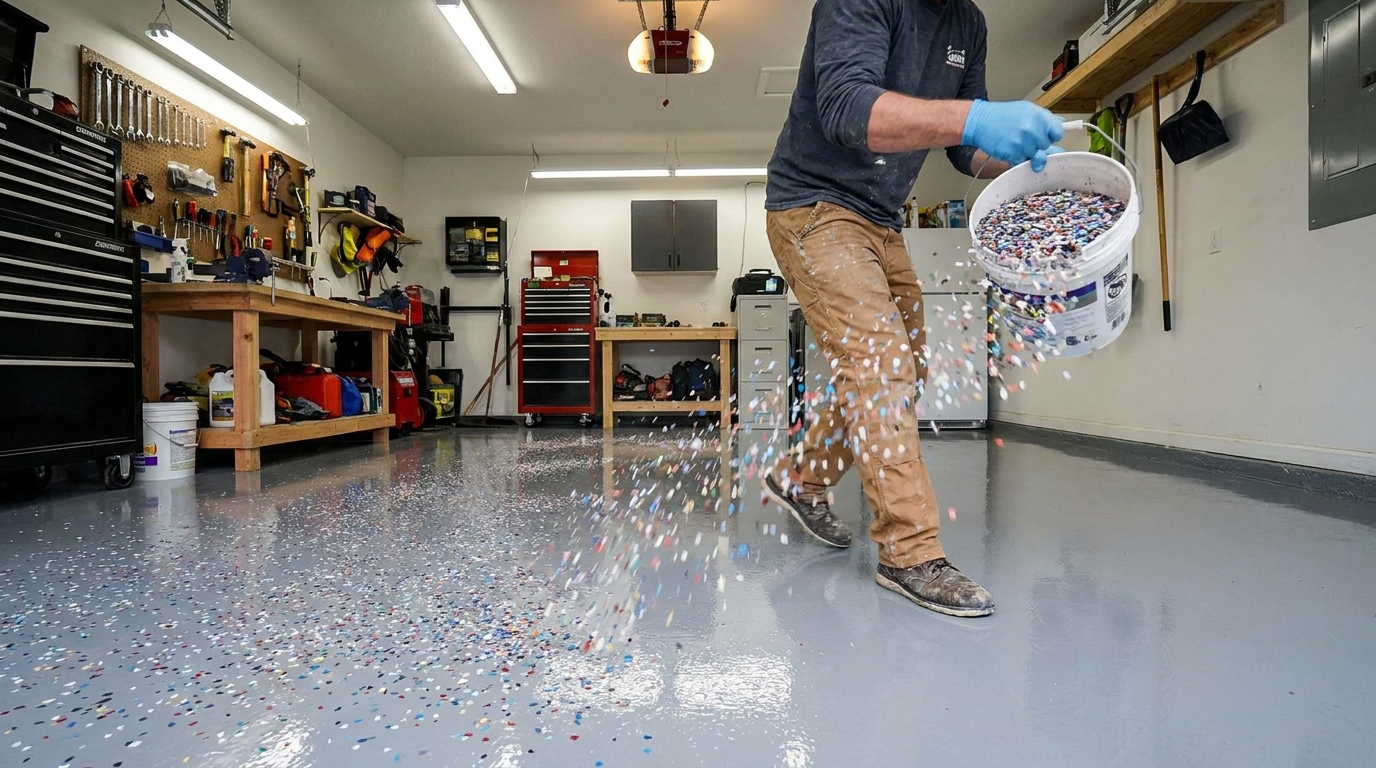 11 MIN
★ INSTALLATION
How to Install a Standard Flake System
The classic epoxy-and-flake garage floor, step by step. Epoxy base coat, full flake or quartz broadcast, polyaspartic topcoat. The full walkthrough for homeowners.
Read the guide →Still have questions?CALL NOW: (737) 377-2519